An essential in many Chinese households, Chai Poh, or preserved raddish.

Used in a variety of dishes, from fried Carrot Cake to Chai Poh Omelette, this is our favorite as kids. When I visited my grandparents’ hometown in 2012, they even had preserved radish to accompany plain porridge. It was surprisingly yummy.
I couldn’t find this in the Korean Asian marts, and before direct flights started, I resorted to making this to fulfil the craving for chai poh omelette.
Recipe adapted from delishably.
There are four stages in the process.
Stage 1: Getting rid of the water content in the radishes by salting.
Stage 2: Fermentation.
Stage 3: Soaking in sugar syrup.
Stage 4: Final drying.
Start with a larger batch of fresh radish. The amount of radish will reduce significantly during the drying process. The method of preserving radish/chai poh is to remove the liquid in the radish and in its place add some saltiness and sweetness to it. Once preserved, the chai poh will keep almost indefinitely and you will only need small amounts of preserved radish in the dish.
Stage 1: Removing Water From Radishes
1. Remove the tops of the radishes. (Tip: Try to choose radishes with minimal green tops as the greenish bits are visually off-putting after fermentation. This is more a visual than a flavour issue.)
2. Peel the radishes and cut into batons. Place the radish batons into a large glass/plastic container. Do not use a metal container, the salt will corrode your metal vessel, even stainless steel, causing it to rust after and rendering it useless after that.
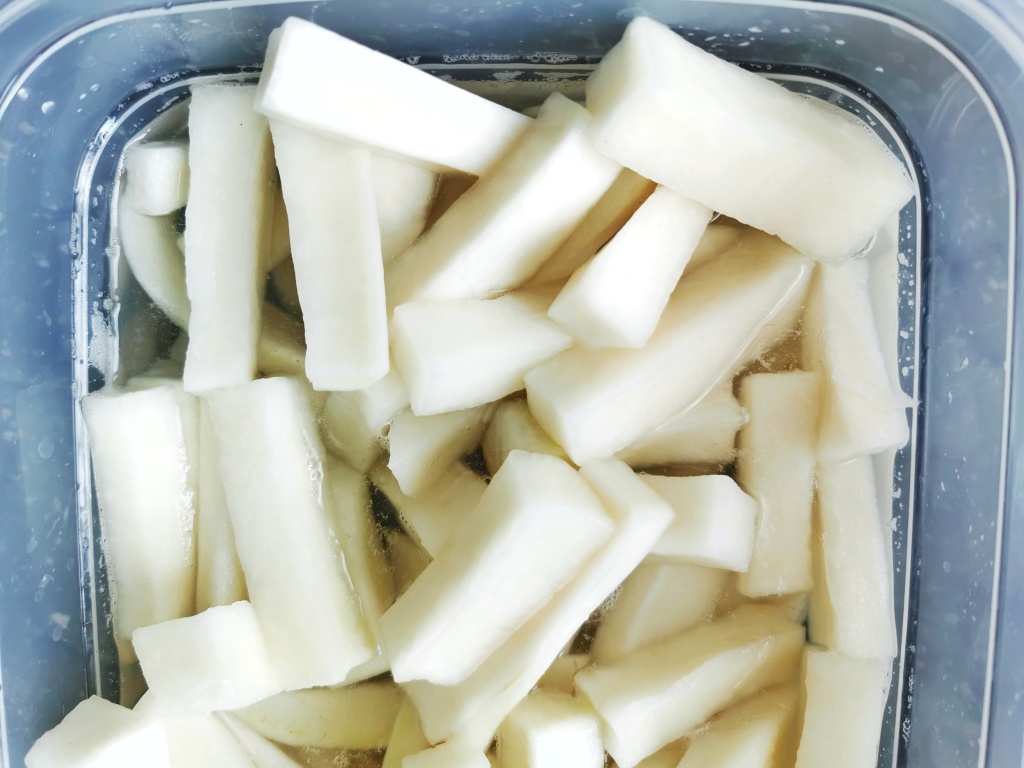
3. Rub a generous amount of coarse sea salt into the radishes, making sure that all the batons are well-coated with salt. Covered the bowl and leave to stand overnight.
By the next day, the radishes will have exuded much of their water content. They’ll be sitting a large amount of liquid.
Stage 2: Fermentation
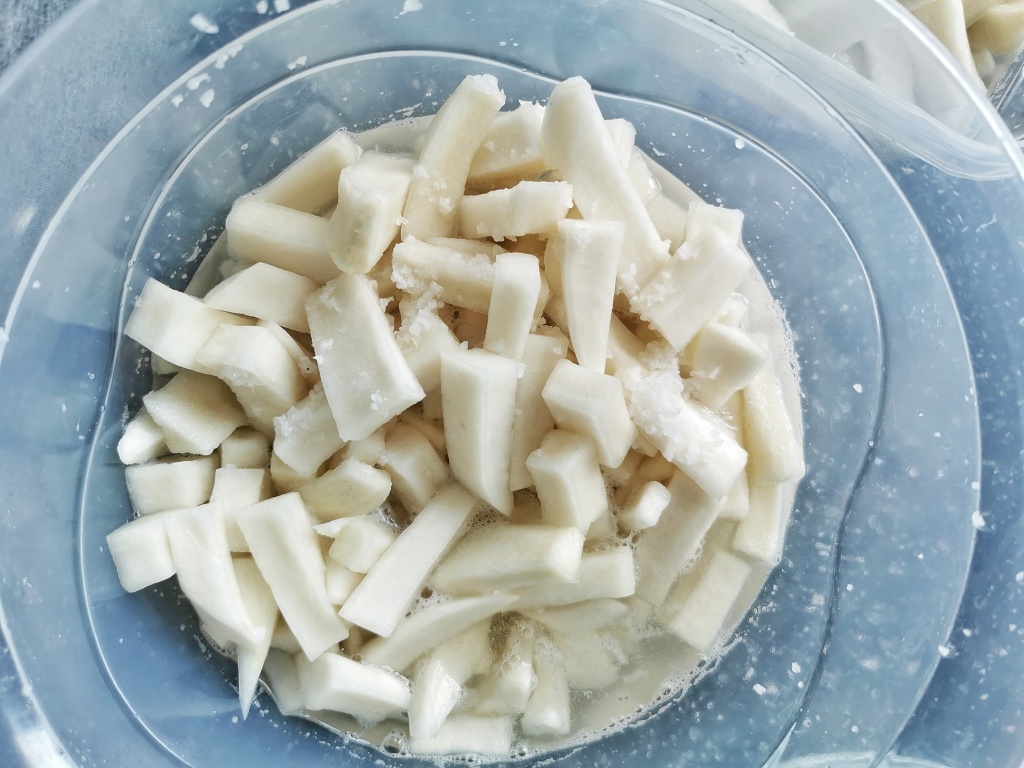
1. Pour off the excess liquid and dry the radish batons further. The easiest way to do this is to spin dry the radish baton in a salad spinner.
2. Weigh the radishes. Place in a bowl and add coarse sea salt equal to 20% of the weight of the rinsed and dried radishes. Rub the salt into the radishes.
3. Place the salted radish batons onto a clean cloth like a tea towel.
4. Wrap the radishes up. Place the radish parcel on a rack and weigh it down with a heavy object.
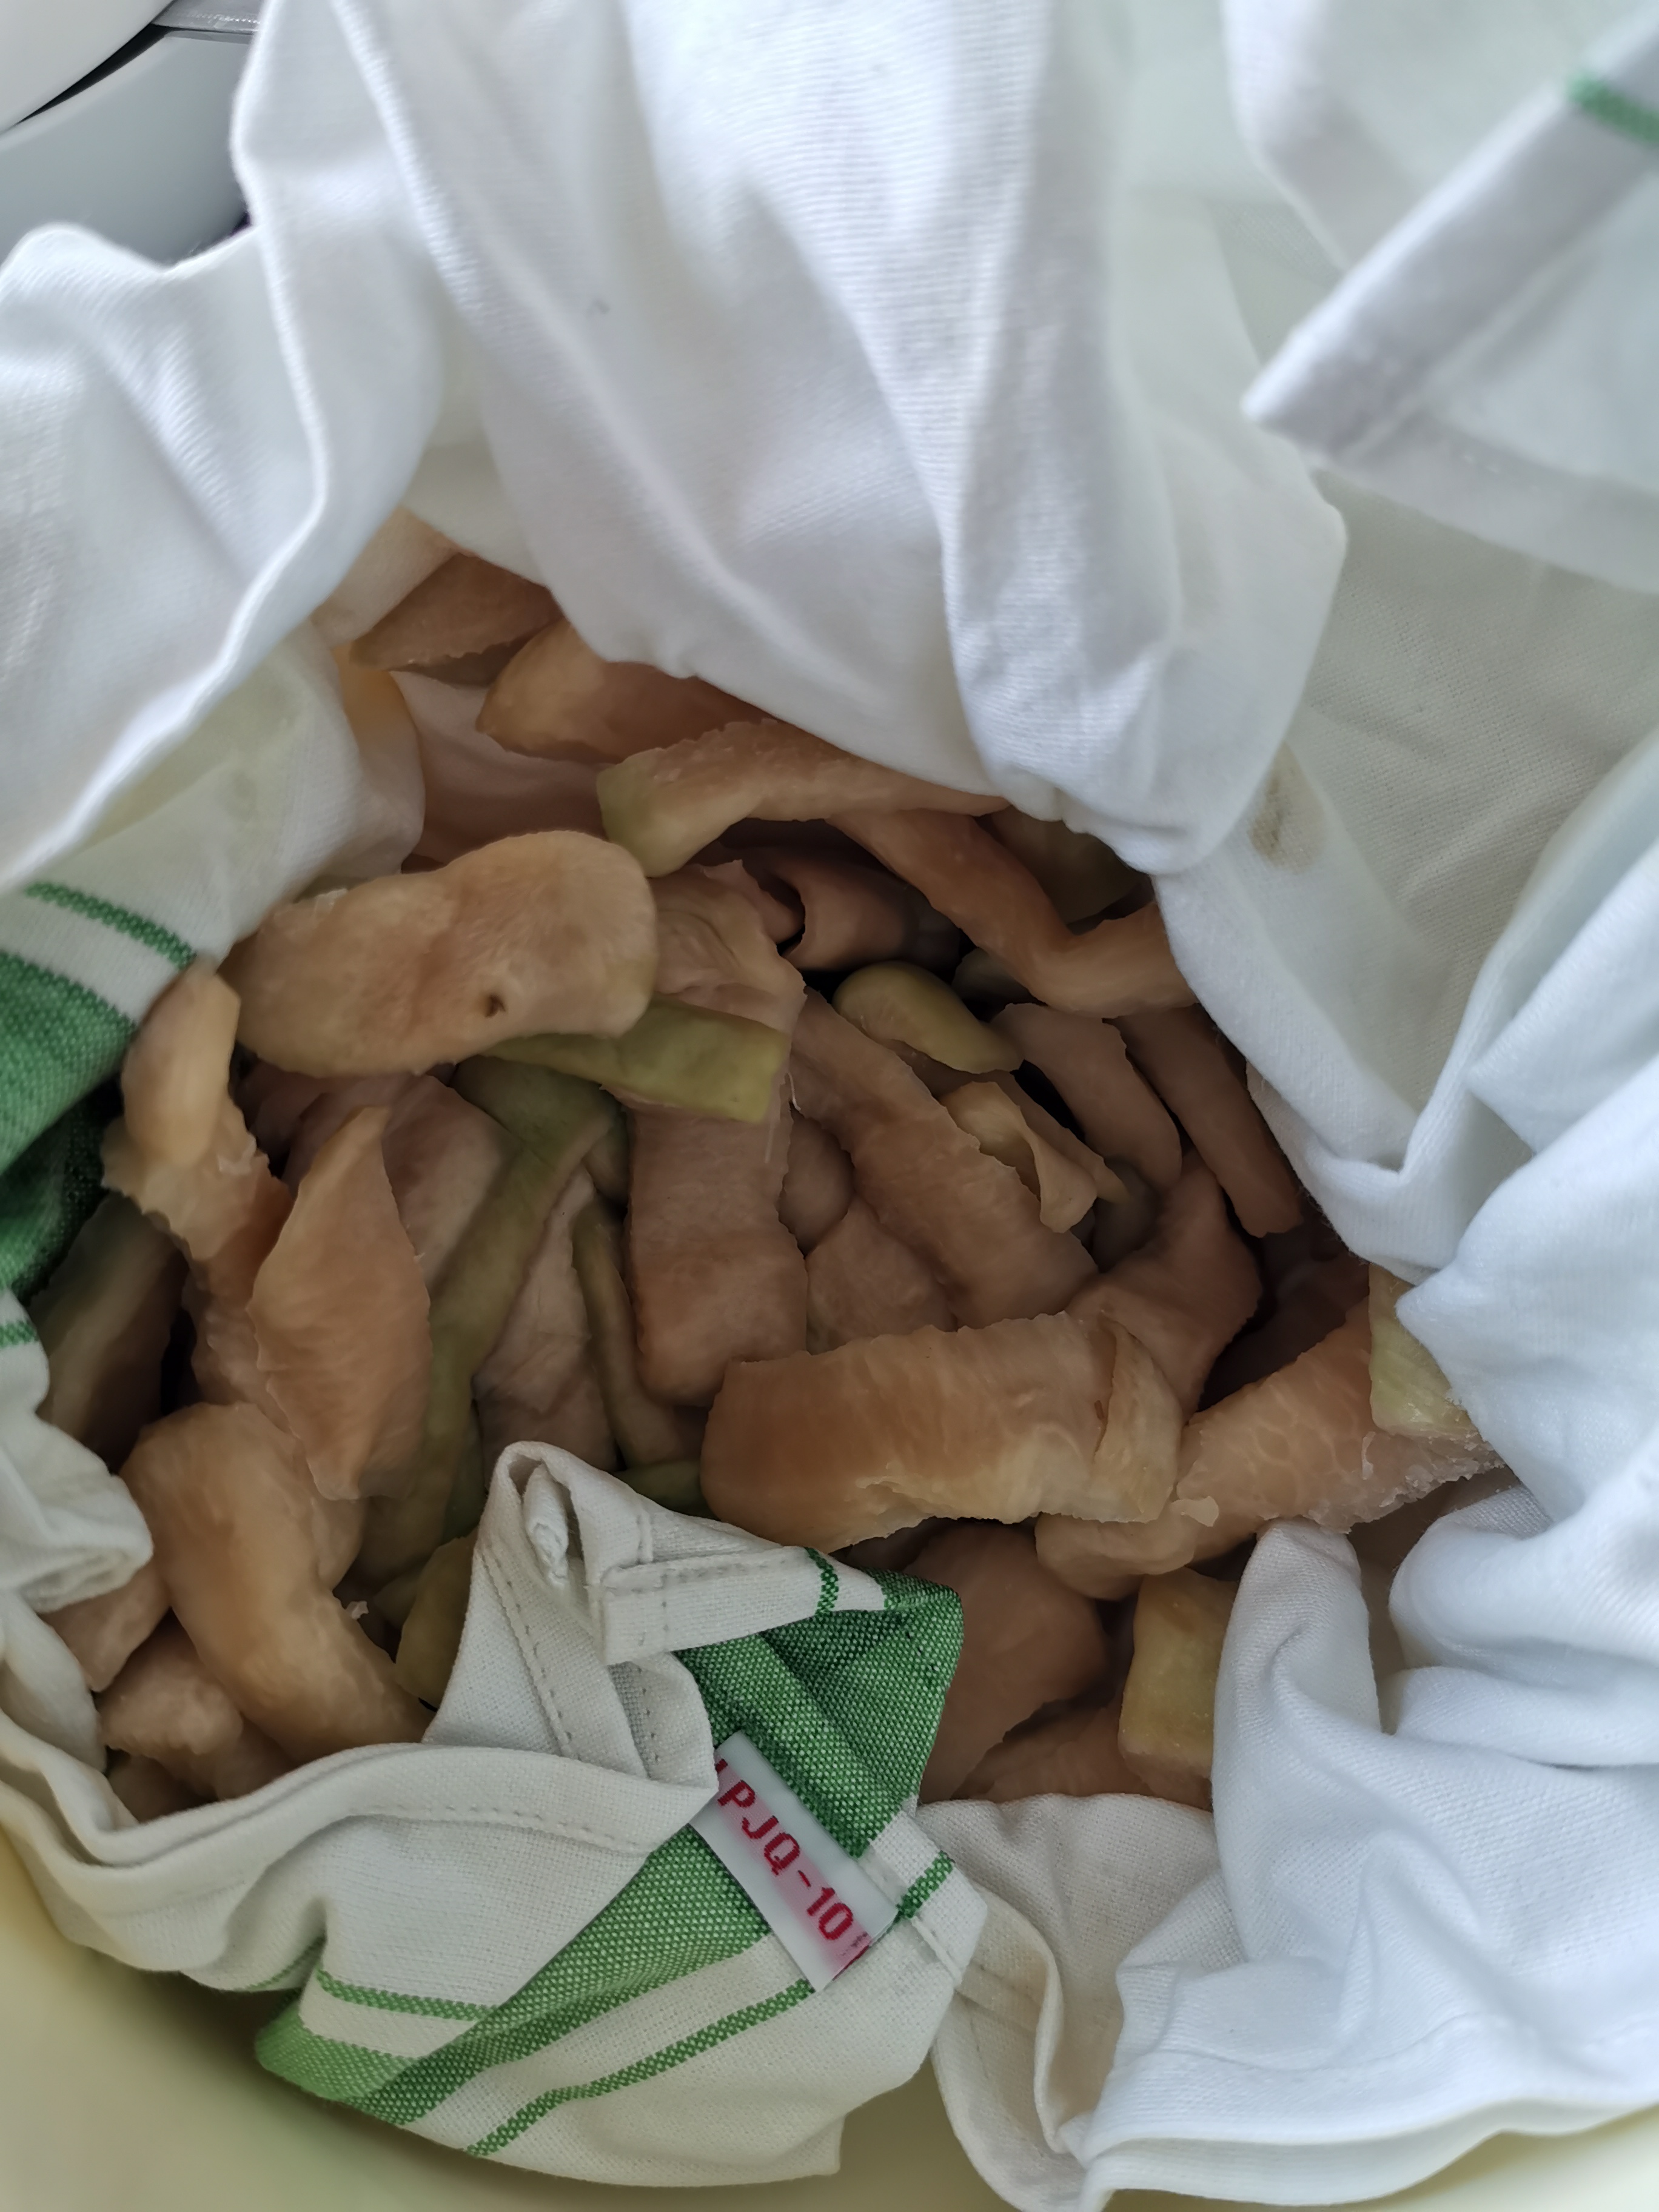
5. Leave in a warm place to undergo fermentation. The length of time for fermentation depends on the ambient temperature: the warmer the temperature, the faster the fermentation process.
6. The radishes should be left until it turns a pale brown colour or has the distinct smell of fermentation happening. This ensures maximum flavour development. Mine took around 2 weeks with an day/night temperature of 14°C – 20°C
Stage 3: Soaking In Sugar Syrup
1. Once the radishes have reached the desired level of fermentation, prepare a sugar syrup based on a ratio of 200g sugar to 250g water. You need enough syrup to completely submerge the radish batons.
2. Combine sugar and water in a saucepan and bring to the boil, stirring constantly to dissolve all the sugar. Once the syrup comes to the boil, remove from the heat. Set aside to cool completely.
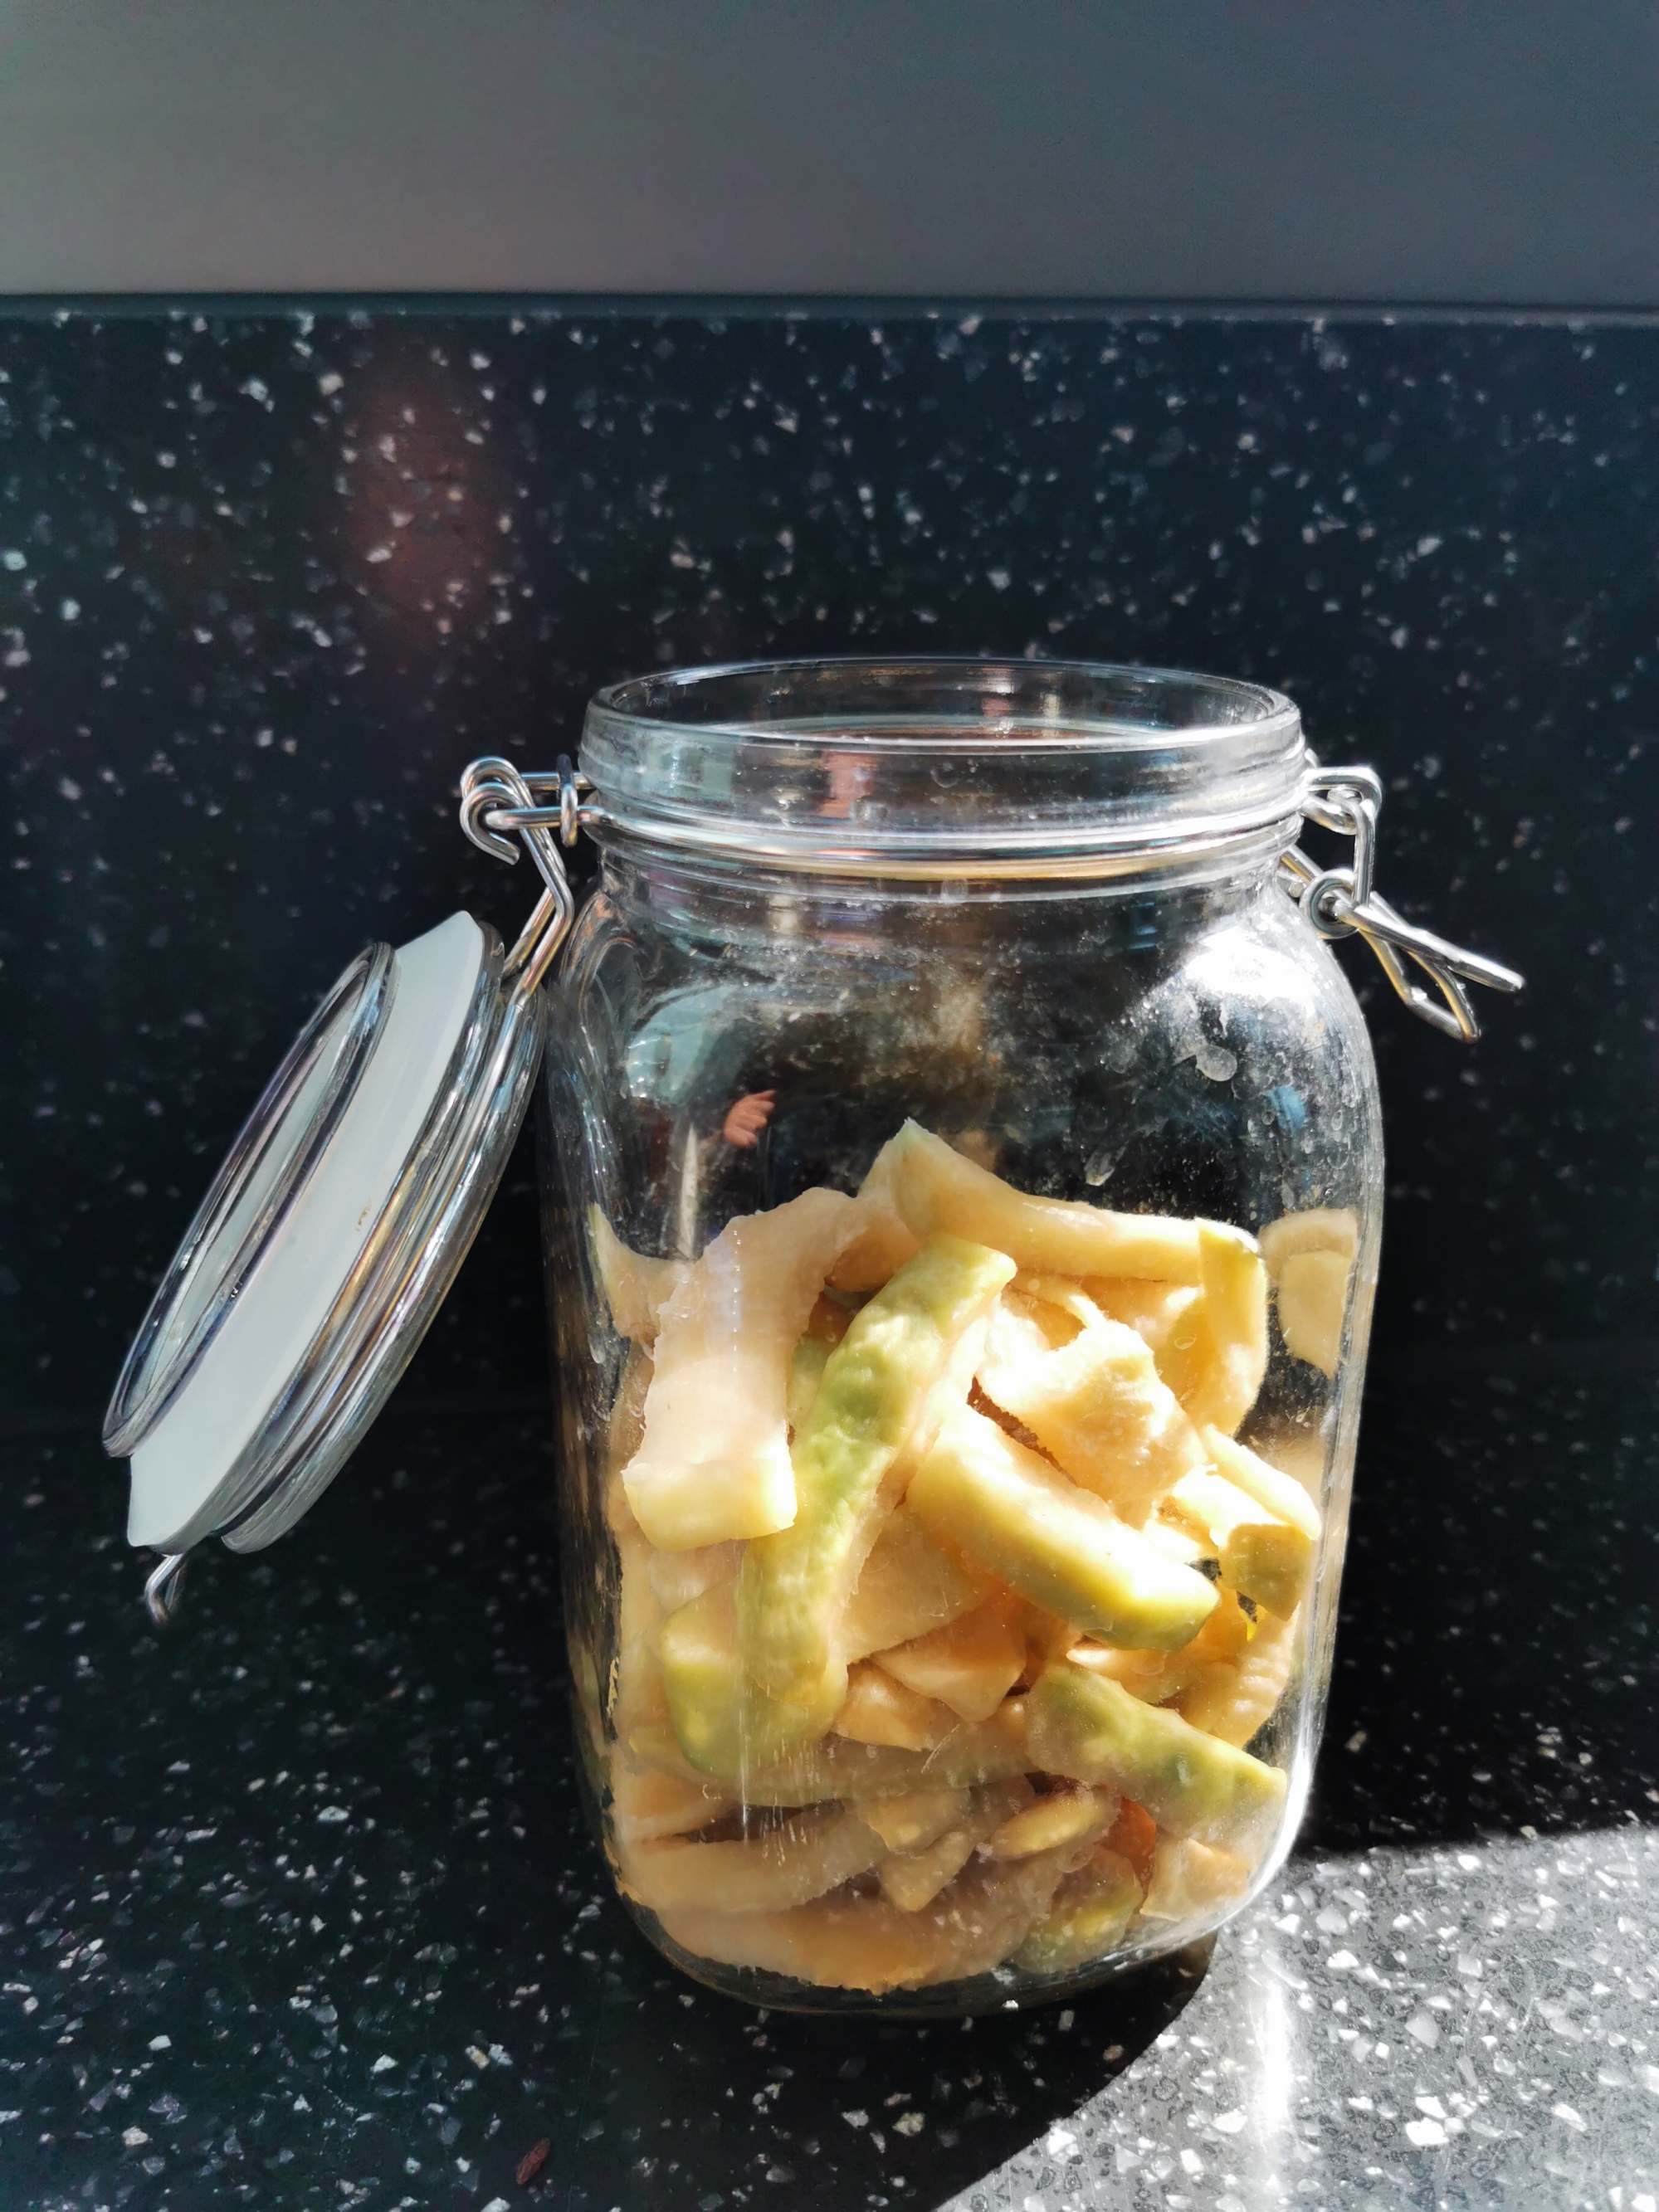
3. Place the fermented radish batons (along with the salt coating the batons) into a large non-reactive container e.g. glass or ceramic container. Make sure the radishes are all fully submerged in the syrup. You can weigh them down with a plate or use clingfilm pressed against the surface of the syrup. I used a vegetable strainer and placed it atop to press it down and allow excess syrup to float to the top.
4. Leave in a warm place for at least 24 hours. I leave it for up to 2 days.
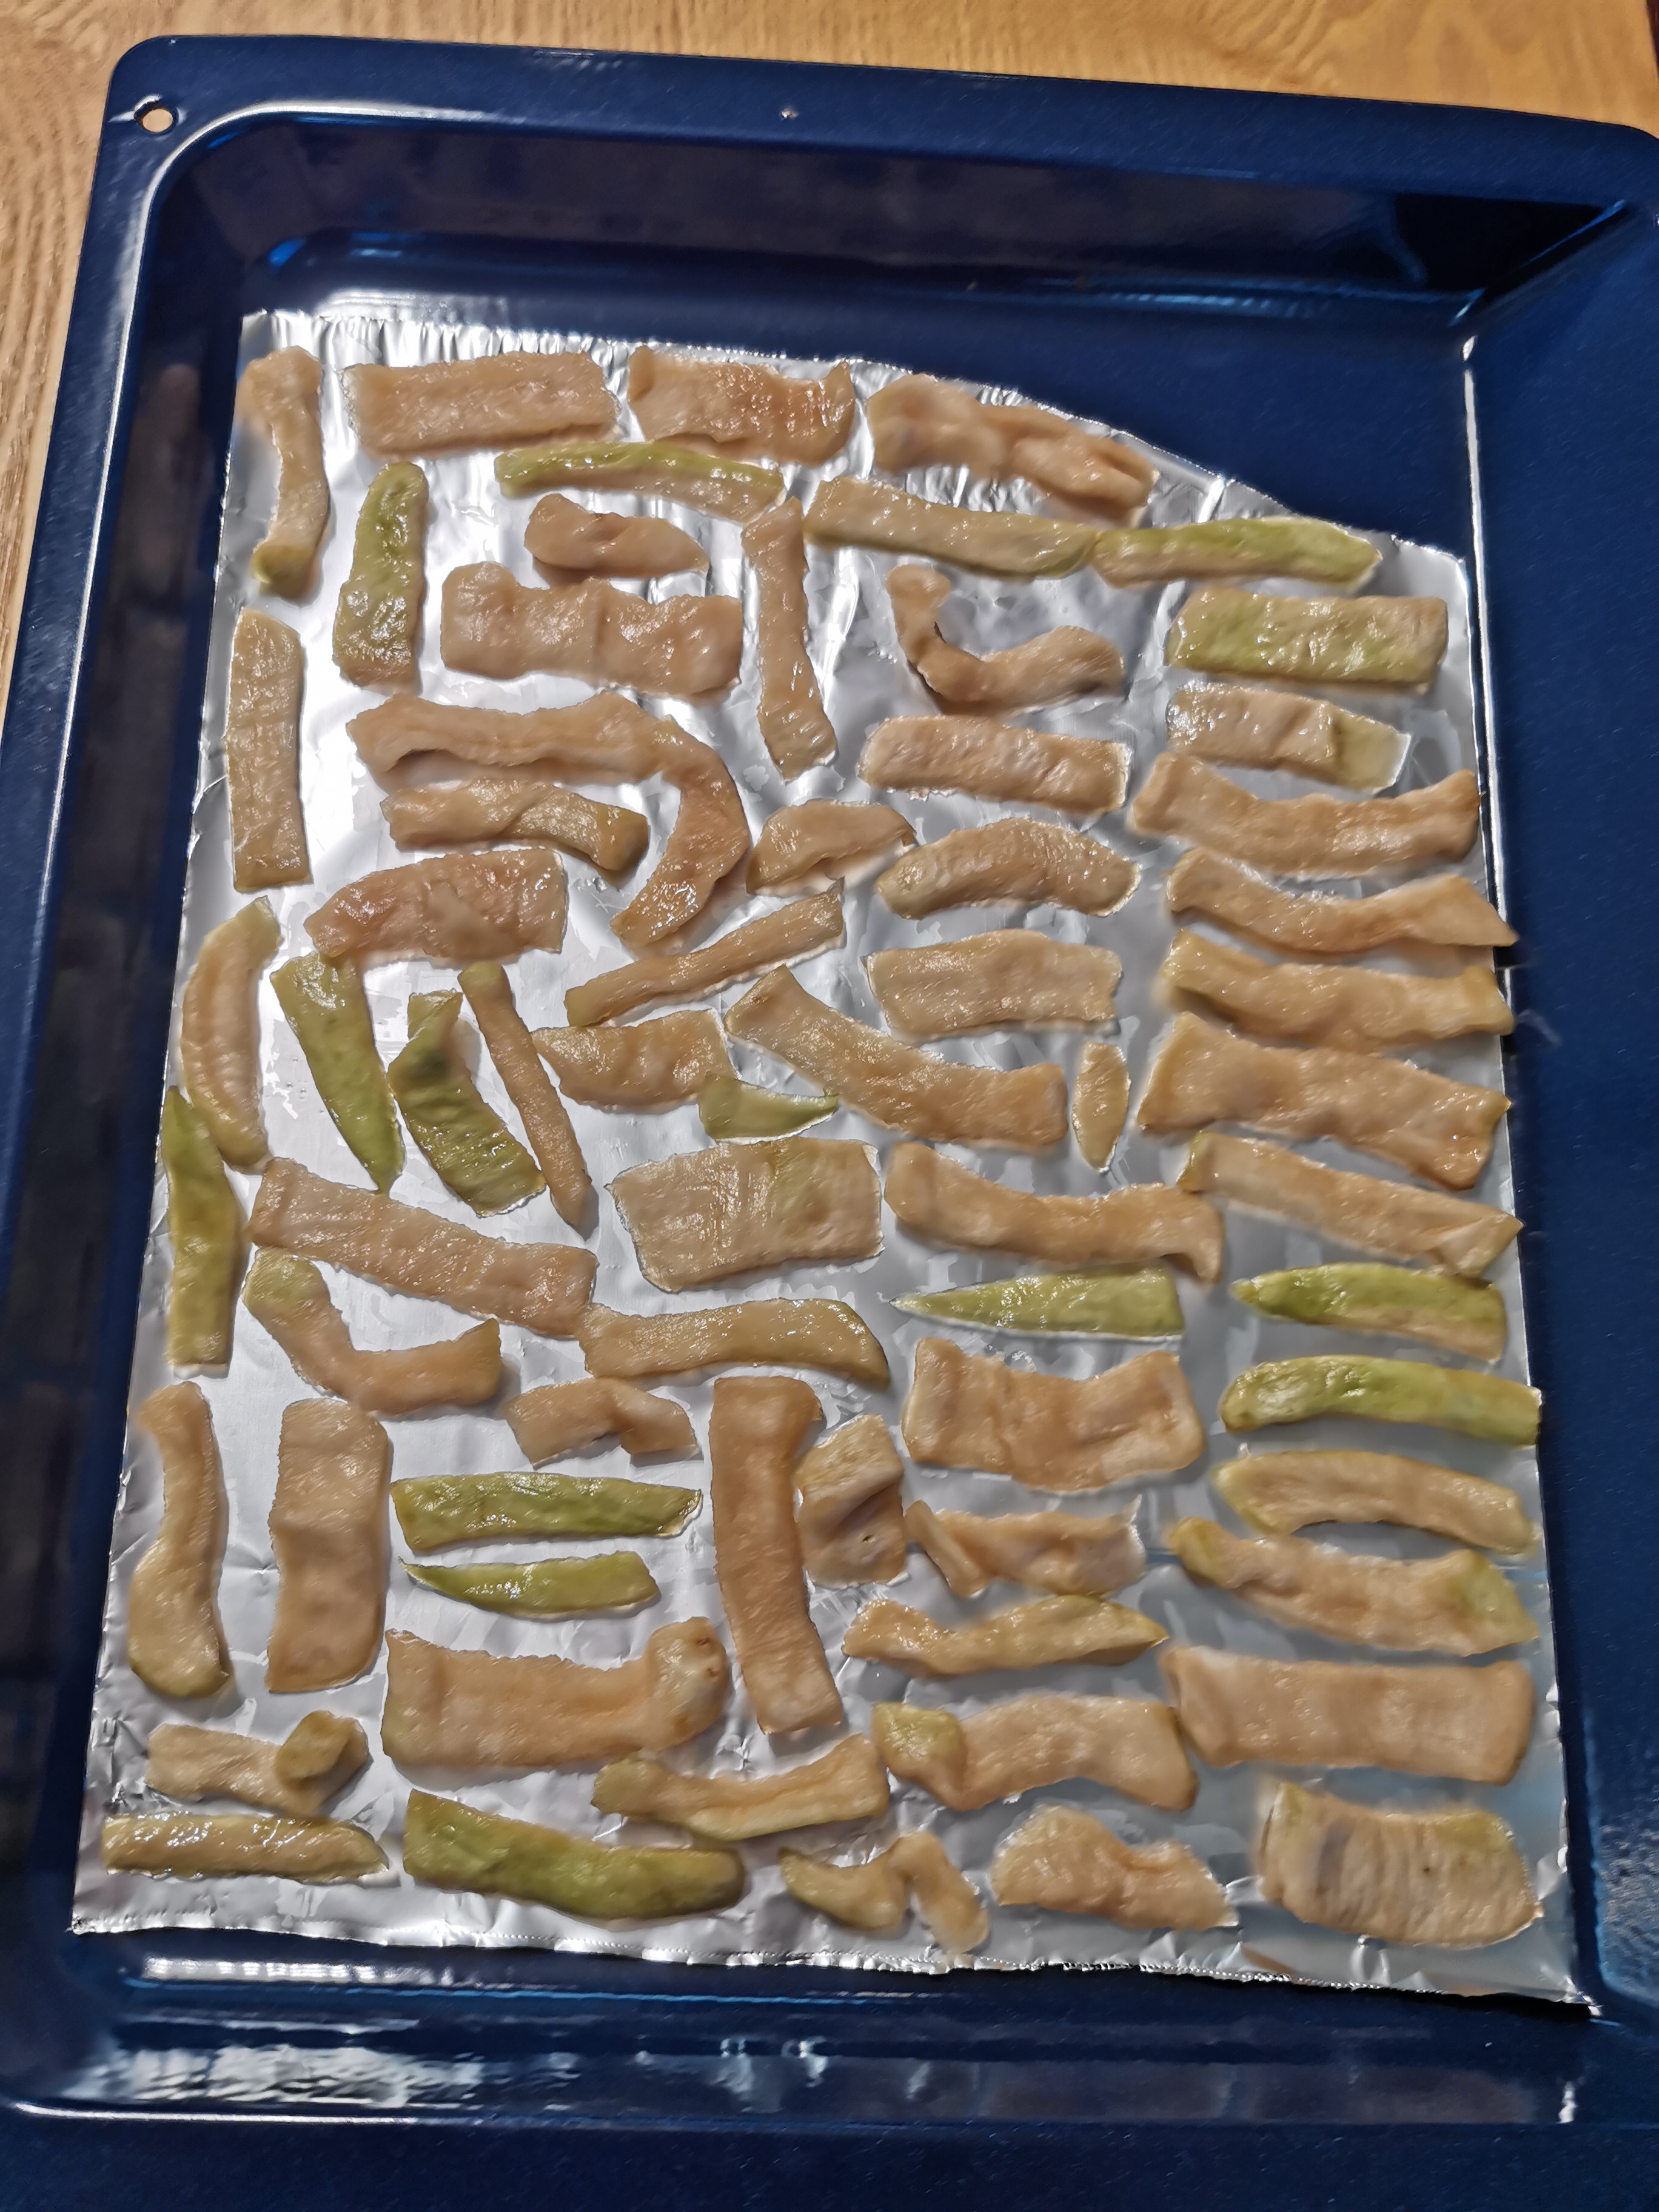
Stage 4: Final Drying
1. Remove the radishes from the syrup. Discard the syrup. Leave the radishes on racks overnight to drain off excess syrup.
2. Dry the radishes in a dehydrator at 35°C for about 8 hours or until completely dry. I didn’t have a dehydrator and so I used the oven at the lowest setting, 50°C for about 4 hours. You want them to be dry but not to a crisp.
3. Pack into an air-tight container or bags. They will keep indefinitely at room temperature. However, as no preservatives are used, it’s best to refrigerate them once you’ve opened a packet.
Wash and cut them into small cubes to fry them into chai poh omelette. Yumms.

On the step where you wrap the Radishes and Add Weight,
>Place the radish parcel on a rack and weight it down with a heavy object.
Is this parcel airtight? I am concerned about leaving the vegetables in open air with water in them.
LikeLike
Hi Lily
The parcel is not air tight as its just a layer of tea towel. By weighing down the parcel, we are forcing even more liquid out of the radishes quicker to prevent mold. The salty liquid leaving the radishes and onto the tea cloth creates a barrier between the radishes and air. The salt in the previous step preserves the radishes and prevents it from going bad. Hope this helps 🙂
LikeLike